
Things You Need to Start an IV
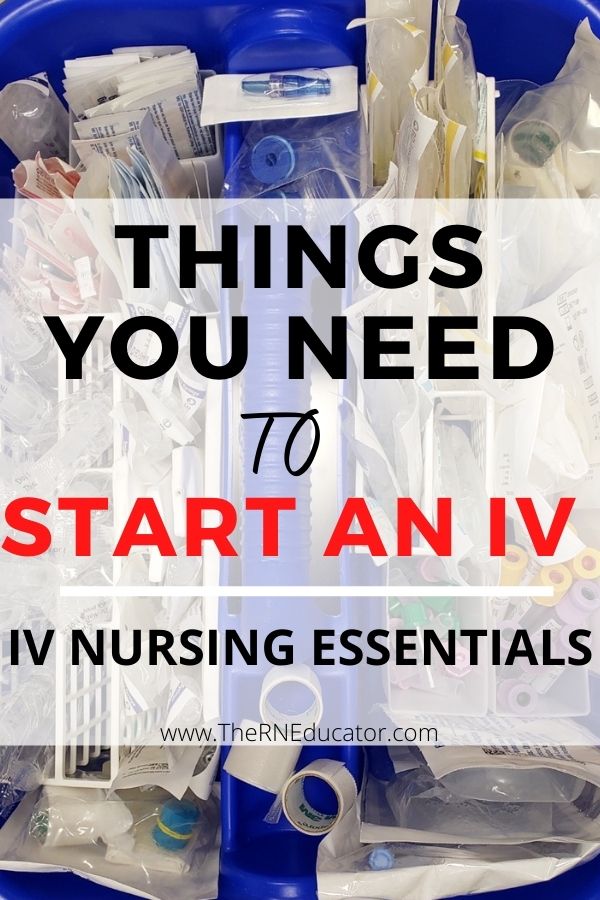
If you don’t already have an IV cart set up in your unit you need to get one. I’m serious, this is such a GAME CHANGER. It’s the best thing to have during an emergency situation. You grab and go with no need to spend the extra minutes taking out supplies while your patient is decompensating. You can worry about that later once the patient is stable. But right now, grab that IV cart and go! Your IV cart would have everything you need to start an IV in an emergency situation. Essentially, it would be a mini supply kit for IV starts. But, what do you need to start an IV? Let’s get into it.

IV Catheters
Without an IV catheter… well, you just don’t have an IV. An IV catheter is the actual IV that is placed inside your patient. You should always take more than one IV catheter with you when you start an IV. Some people think this is a sabotage and will set you up for failure but I call it preparation. In my opinion, preparation sets you up for success. If you take an extra set you don’t have to worry about leaving the room to grab another one. This means re-washing your hands, donning a new set of gloves & people asking you “Did you get it?!” Ugh.. no pressure, right? My advice – always go in with at least 2 IV catheters. You can click here to learn some other tips on how to make sure you land that IV on the FIRST try!
IV Start Kit
When starting an IV your IV Start Kit is essential. It is pretty much a kit of the majority of things you will need when starting your IV. This includes your tegaderm, tape, gauze, foldable sheet to place under patients arm/hand or to lay your supplies on (this is what I use it for), and a chloraprep (what you use to clean the site prior to insertion). Don’t forget to grab this kit when you see that IV order.
Alcohol Swab
An alcohol swab is necessary to clean the area prior to an IV insertion. I usually use an alcohol swab when I am searching for my vein as I find it does help the vein stand out a bit more. For skin prep the CDC recommends using either clorohexidine, 70% alcohol or iodine as acceptable methods of skin cleansing prior to a peripheral intravenous insertion.
Tegaderm
Using a tegaderm to secure your IV not only helps tape down and keep your IV in place but it also helps minimize risk of infection. This rectangular shape, semi-permeable, transparent dressing helps stabilize the IV and stop any microorganisms from falling into the IV site.
Tape
Crucial for stabilizing your IV! Always, always, always have your tape ready to go BEFORE starting your IV insertion. When I say ready to go I mean tape has already been broken apart into the pieces you need to tape down the IV. This may not be such a big deal for compliant adult patients but trust me, it is a game-changer in the peds world. Missing this step can be the reason of a lost IV.
I usually prep 3 strips – 1 short strip to secure the IV and another strip to chevron the hub. The extra strip is there just incase one of my strips gets tangled or messed up, however, I don’t always use all three. One of the great things about the IV Start Kit is it already brings a prepared tape to be used for chevron methods. If you don’t have IV Start Kits in your facility you can use the suggestion above. Trust me, you’ll thank me later.
Extension Set
Once you have your IV catheter inserted you will go ahead an add your extension set. Every IV needs an extension set. The need to draw blood samples will determine whether or not you prime your extension set. This is important because if you are collecting blood, priming your extension set ahead of time will cause an altered and inaccurate blood sample. If you are not collecting blood, you will need to prime your extension set with normal saline ahead of time. If you don’t prime your extension set and flush with an un-primed tubing you will inject air into your patients vein. This is a big no-no and this missed step can cause an air embolism.
Microclave
A microclave is the blue attachment that goes at the end of the extension set. This blue attachment is where you will connect the syringe when you need to draw back blood or flush the line. It is also where you attach any tubing to give medication or fluids. When not in use, the microclave should always be capped with a clorohexidine cap to prevent any microorganisms from accumulating and being introduce into the vein. If this microclave isn’t placed your extension set is essentially open to air meaning any microorganisms can easily go into the tube and introduced into the vein.
Syringe
A syringe is important to have when you are obtaining blood samples. I recommend using a 3mL syringe when pulling back a blood sample for pediatric patients. This is because their veins are usually smaller and thinner. The higher the syringe gauge the more pressure there is on pull back. Try pulling back on a 10 mL syringe versus a 3mL syringe. It’s easier to pull back on the 3mL right? Do you feel less resistance? You should! Your vein feels it too.
You want to avoid any chances of blowing a vein and losing it. Once you blow a vein you need to discontinue that IV and it can no longer be used until the vein has healed. Adult veins can usually withstand larger gauges like a 5mL or 10mL but it is recommended to use the smallest gauge you can to preserve vein function (this is all dependent on the amount of blood needed and the vein in use). You can ask your facility what their protocol and recommendations are.
Vacutainer Blood Transfer Device
Blood transfer devices attach to your syringe when transferring blood. You use this when you have collected your blood sample via a syringe and are now ready to transfer it to the specimen vial, whether it is a blood culture bottle or a regular lab tube. A vacutainer blood transfer device primarily serves as a safety mechanism to prevent any blood from splashing you or your patient as well as preventing potential needle sticks.
Lab tubes
Read your orders prior to entering the room to start your IV. Many times a provider will order labs which you can obtain when you insert an IV. Remember, when successfully placing an IV you should always have blood return. This is the moment when you would collect your lab samples therefore, be prepared with the specific lab tubes you need for those lab samples.
If you are not sure, use your resources. You can call the lab and ask them what the appropriate tube for that lab is or ask a fellow nurse/charge nurse. You will learn this as you gain experience. Most of the time lab samples are very repetitive and you quickly learn which tubes correspond to which labs. If you don’t see any labs ordered I always make it a habit to re-confirm with the provider if they are available. I cannot tell you how many times they say “OMG! I completely forgot to put the labs in! Let me order those now.” If I wouldn’t have asked it would have been much more difficult to obtain an accurate lab sample after I had flushed my IV.
Flush
Always take a MINIMUM of 3mL flush. You really don’t need any more than a 3mL to check for patency of your IV. If you need more than this to prime your extension set or flush between medications then you can take a few 3mL syringes but keep in mind how liquid is going into your patient and consider this fluid intake, especially in pediatrics, elderly patients and patients with strict I&O orders.
Gauze
Make sure to take gauze to clean up any mess your IV start may have left behind whether it’s blood, or saline water. Pat the patients skin dry and make sure it is nice and clean before applying any of the dressing or tape. There is nothing worse than an IV that has blood all over the inside of your dressing. You will be questioning the whole night if you have an IV that is leaking or is no good. Clean the area and then apply the dressing. A gauze is also important in case you miss the IV and need to apply pressure to the site.
Bandaid
Finally, a bandaid is just good to have incase you miss an IV. Hey, it happens! You won’t always get the IV on your first try and THAT IS OKAY. You have good days, you have bad days. Don’t beat yourself up about it. Have a bandaid to place over the attempted site and move on to the next vein. Bandaids can help kids feel better because they can no longer “see” the site that was poked but beware, some kids hate bandaids and if that’s the case just apply firm pressure with a gauze and temporarily apply tape to hold it down.
It’s so important to know what supplies to gather and why you’re gathering them when starting an IV. Having all these supplies ready to go will give you the best chances for success and ensure you are prepared each and every time.
Do you have any tips to add to any of the supplies I mentioned above? Are there any other supplies that you have found useful during your IV start?
Share with us below!
’till next time,
The RN Educator

Related Posts

What’s in a Pediatric Crash Cart? Nursing Students read NOW!
A pediatric crash cart is a mobile unit containing essential equipment and medications required for…
January 9, 2024
How to Become a Confident Nurse
If you are anything like me, and let’s face it (like every nurse…
May 25, 2023
5 Amazing IV Insertion Tips Every Nurse Should Know - The RN Educator | 25th Nov 20
[…] line incase your patient starts moving (it’s almost inevitable for this to happen with kids). Here’s a list of the most common supplies needed when starting an […]