
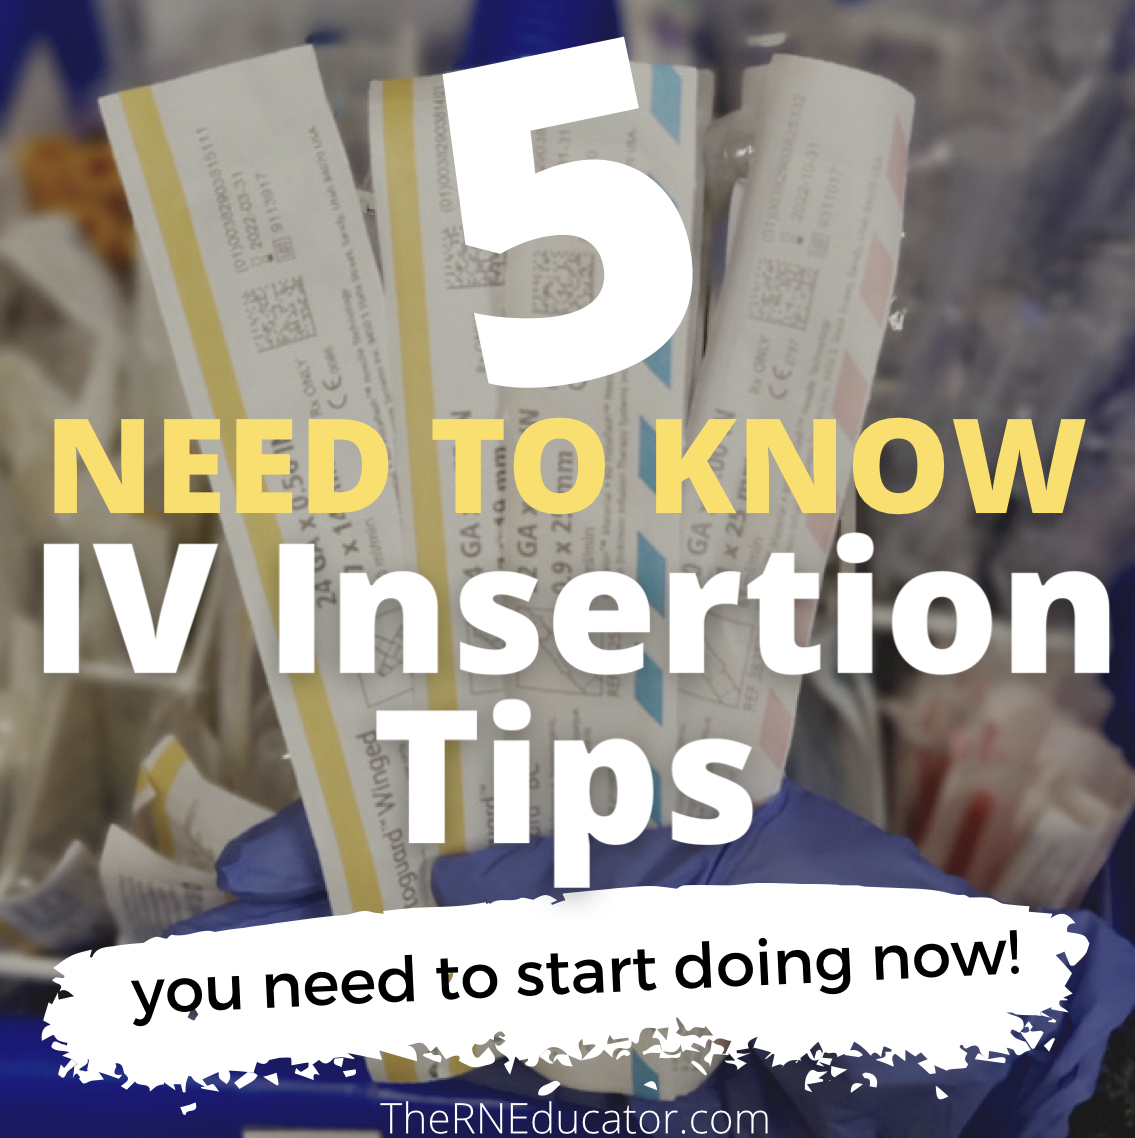
5 Amazing IV Insertion Tips Every Nurse Should Know
Hello, hello friends! Jackie here bringing you some great information today. If you are anything like me as a new nurse you probably dreeeeaddd the thought of an IV order. Yes? No? Or was I the only one? Man! Every time I would see an IV order I would start freaking out, overthink and have an internal anxiety attack. IV’s are actually one of THE hardest skills for a nurse to acquire and this is simply because in order to master it you must PRACTICE. Without practice, you cannot possibly learn how to insert an IV.
I know what you’re thinking “But why should I try to prick a patient, probably multiple times because I’m not that great at IV’s, if someone else can get it on their first try?” Ahhhh… good point! But do you always want to depend on other nurses to get your IV’s? What if your patient is deteriorating and the doctor is looking at you wondering why you still haven’t gotten that IV? Or why you are waiting around for IV team? Or how the fact you have to wait for someone else to have free time to put in your patient’s IV is just backing you up in your nursing tasks?
You can give back by becoming the nurse that HELPS put in an IV. YOU can become the resource. How great would that feel? To get to that point that other nurses ask YOU for help. That’s always the goal as a new nurse. Grow and improve… Learn as much as possible to not only give our patients the best care possible but also be a resource and pass on the what we have learned to other new nurses.
The truth is, IV’s don’t need to be so scary and to prepare you for them I am sharing 5 AMAZING IV Insertion Tips every nurse should know. Let’s jump right into it.
1. Location is KEY.
Location is so underestimated when looking for an IV, especially with patients who have fragile, small veins like in pediatrics. This is such a game-changing IV Insertion tip every nurse should know. When inspecting and palpating for an IV site make it a HABIT to look at all 4 extremities, even if you found an AWESOME vein in the first extremity. You might ask, “but if I found my site why continue looking for another location?” Well, I cannot tell you the amount of times I have seen people go for a vein that seemed great, only to have a vein in another location look SO MUCH BETTER. That is why, take your time and inspect and palpate all areas to ensure you are using the best vein. This will totally increase your chances of getting that IV on that first try! Trust me, don’t skip this step. You will thank me later.
What to say when parents or patients look at you like you like you don’t know what you are doing or looking for? Simple. Beat them to the punch and explain BEFORE doing anything what you are going to do. In this case, “I will be looking at both hands and feet (for pediatrics) to make sure I choose the best possible vein.” Works like a charm and they immediately feel like 1.You are experienced and know what your doing and 2. Have their best interest in mind.
2. Plump up those veins.
Another IV insertion tip every nurse should know is to plump those veins! There will be times where you can see a vein but can’t necessarily “feel it”. Honestly, if you can ever FEEL a vein but can’t see it, trust me, these are blessings in disguise. You may not visualize the vein but they are usually PIPES and what I mean by that is they are usually big, plump veins. Just make sure you aren’t confusing it for a tendon. A good way to do this is palpate the “invisible vein” while the tourniquet is on. Keep your fingers on it and remove the tourniquet if you can no longer palpate it, it most likely is a vein. If you can still palpate it then it could be a tendon.
Now, how do we plump up small, fragile or skinny veins?
Apply heat
You might have heard this trick before but one of the best ways to dilate veins is by applying heat to the area. You can use a warm compress, or warm towel and have the patient hold it over the area while you prep your IV station. By the time you look and feel your vein again it should appear much larger due to vasodilation. Let’s say you are stuck between two possible sites, if you still haven’t decided apply warm compresses to both locations and see which one dilates more at time of IV start. Remember, you want to go for the best veins to increase your chances of successful insertion! Always keep in mind, warm compress should not be too hot or should be placed over a thin barrier to avoid burns.
Gravity
Gravity is your friend. If warm compresses are not working or not available use gravity to increase blood flow to the area. If you are starting an IV on the hand or arm just dangle the patient’s arm off the side of the bed. This will cause blood flow to pool in the lower arm/hand causing vasodilation.
Gently tapping the vein
Notice how I said… Gently. Now, don’t go out there and start slapping and flicking veins. This is an old habit that is now discouraged. However, lightly tapping on a vein can cause vasodilation. I have seen it with my own eyes!!
Double tourniquets
Finally, another great way to plump up veins is to double tourniquet. Keep in mind though, you should not double tourniquet a patient who has fragile skin. By applying two tourniquets about an inch or two apart you are ensuring there is enough pressure in the vein. This increased pressure will engorge the veins making it easier to succeed in IV insertion. Remember, you don’t want to leave the tourniquet on for too long or it will actually have the opposite effect (vasoconstriction). In this case you need to loosen the tourniquet and let the extremity refill again.
3. Use your resources
Don’t forget there are other resources you can use to visualize the vein. In pediatric patients or patients with small, thin veins you can definitely benefit from an IV light. Most hospitals have an IV light where you shine a translucent light over the selected area and it will show you the veins in that area. If your hospital doesn’t have an IV light or if you find it doesn’t really help, you can also use a bright light (like an otoscope light or small flashlight) underneath the hand (this works great for infants) or on the side of the skin. The light will shine through the skin giving it a red appearance (imagine using a flashlight on your hand … it’s pretty much that same red color it gives). While your skin is shining red you will be able to see all the veins in that area. Try it at home with a flashlight!
Also, keep in mind other resources such as pain relief measures. There are lidocaine sprays or creams that certain hospitals may carry that help ease pain of IV insertions. The less pain the patient feels, the less anxious and tense they become leading to better outcomes!
4. Choose the proper IV catheter
This is a crucial IV insertion tip every nurse should know and makes a huge difference when having successful IV placements. The IV catheter you choose must be one that is dependent on the size of your vein (width & length) AND the reason for placement. You must be thinking “what does that matter? an IV is an IV no matter what!” Well, yes this is true BUT having the correct IV catheter will save you much trouble in the next few hours or days.
Let’s talk size of vein. It is very important to consider the size of the vein you will be using. Is it a large, plump vein that is straight? If so, consider using a bigger gauge such as a 22-20ga. In pediatrics you generally do not go larger than a 20 ga. unless you will be transfusing blood or infusing large amounts of fluids quickly (this is when reason for placement comes into play… we will talk about that in a second). This is because veins are usually not that big as an adults. A 20-22 ga. IV catheter has a more stable catheter since it is bigger and longer therefore, when it’s time to thread it will thread like butter! Literally. Such an easy and smooth thread for a gauge that size. However, you want to make sure you have a long enough vein when using these catheters.
How to know if your vein is long enough? You can measure the vein next to the catheter and make sure the tip of the catheter will land at least 1/2 an inch – an inch (rough estimate) before the vein ends. You don’t want it to land right when the vein ends because then the fluid will be crashing against the vein wall and won’t be able to properly infuse (and let’s not forget that annoying IV pump that will constantly be beeping “distal occlusion” Ugh!)
If your vein is short and ends quickly consider using a 24 gauge. This is usually used for children. The majority of adults get 22 gauges and larger. The 24 gauge catheter is shorter so you won’t need such a “long” straight vein. In other words, this is ideal for a patient who has a vein that is straight for a little bit and quickly curves to the side. These catheters are smaller and flimsier so threading is a little more tricky. Just take your time and make sure a good amount of needle is in before threading. If you don’t insert enough of the needle you might have difficulty threading.
Reason for placement is very important and will determine the size of the catheter you will be using. If this patient is going into surgery you should be looking at bigger gauges since this patient may require large fluids during surgery or a blood transfusion if things don’t go well. A dehydrated patient ideally would need a larger bore but because those veins are so dehydrated, thin and constricted you might have to place a smaller bore.
5. Prep your IV station
Prep your IV station BEFORE IV insertion guys. I cannot tell you how many close misses I have seen because stations weren’t ready to go. So now you have this patient screaming and fighting about the IV while you are holding down the IV trying your hardest not to lose your line and trying even harder to cut a piece of tape to tape that IV down. Sounds like a SUPER hectic scenario right? CHAOS! Don’t let this happen to you.
Always have all your supplies on standby and ready to go and never forget to set up your tape prior to insertion. Have your strips of tape ready to tape down and stabilize your IV line incase your patient starts moving (it’s almost inevitable for this to happen with kids). Here’s a list of the most common supplies needed when starting an IV
That’s all for today friends. These are the TOP 5 IV Insertion tips every nurse should know. Let me know if you have any other tips and share them below! Would love to hear more from you guys…
’till next time,
The RN Educator

Related Posts

What’s in a Pediatric Crash Cart? Nursing Students read NOW!
A pediatric crash cart is a mobile unit containing essential equipment and medications required for…
January 9, 2024
How to Become a Confident Nurse
If you are anything like me, and let’s face it (like every nurse…
May 25, 2023
Things You Need to Start an IV - The RN Educator | 2nd Nov 20
[…] Ugh.. no pressure, right? My advice – always go in with at least 2 IV catheters. You can click here to learn some other tips on how to make sure you land that IV on the FIRST […]